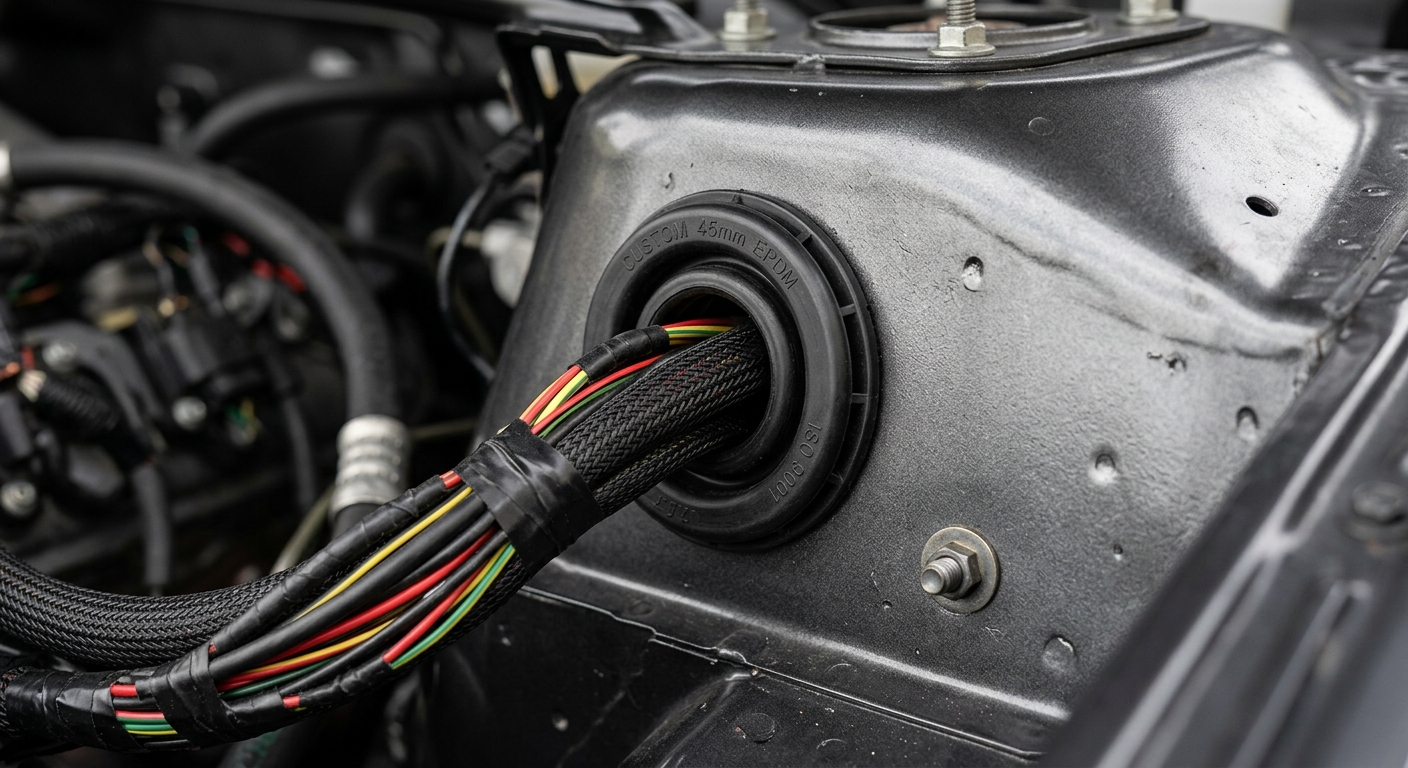
Custom rubber grommets protect automotive wire harnesses by sealing pass-through holes against water, dust, abrasion, vibration, and heat — but only if the grommet geometry, rubber compound, and durometer match the actual operating environment. For automotive OEMs, the right design comes down to four decisions: where the grommet sits on the vehicle, which fluids and temperatures it sees, how thick the panel is, and how the harness is routed through it. Get those four right and you eliminate the majority of warranty claims tied to harness chafing and corrosion.
Modern vehicle harnesses are engineered for 15+ years of service. The wires, connectors, and tapes are rarely the weak link. The grommet is.
Why? Because the grommet sits at every transition point — firewall, door jamb, trunk lid, underbody pass-through — exactly where the harness flexes, where water collects, and where temperature swings are largest. A poorly designed grommet lets moisture wick into the harness, accelerates copper corrosion, and creates abrasion points that eventually short to chassis.
One Tier-1 supplier we worked with traced a recurring door-harness intermittent fault to a grommet whose inner lip was only 1.2 mm thick. After 60,000 door cycles in cold weather, the lip cracked, water entered, and connector pins corroded. Increasing the lip to 2.0 mm and switching from NBR to EPDM eliminated the failure mode entirely.
The lesson: spec the grommet like a structural sealing component, not like packaging.
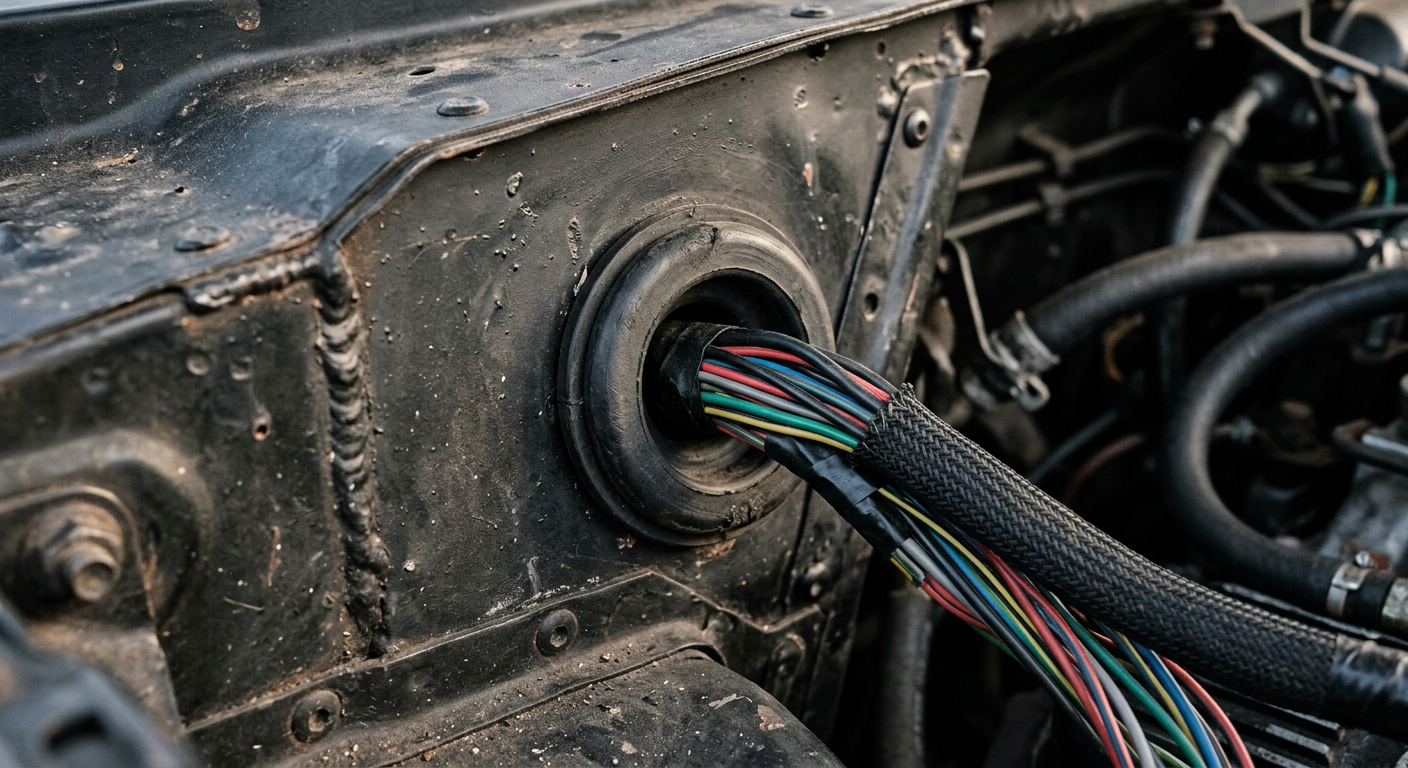
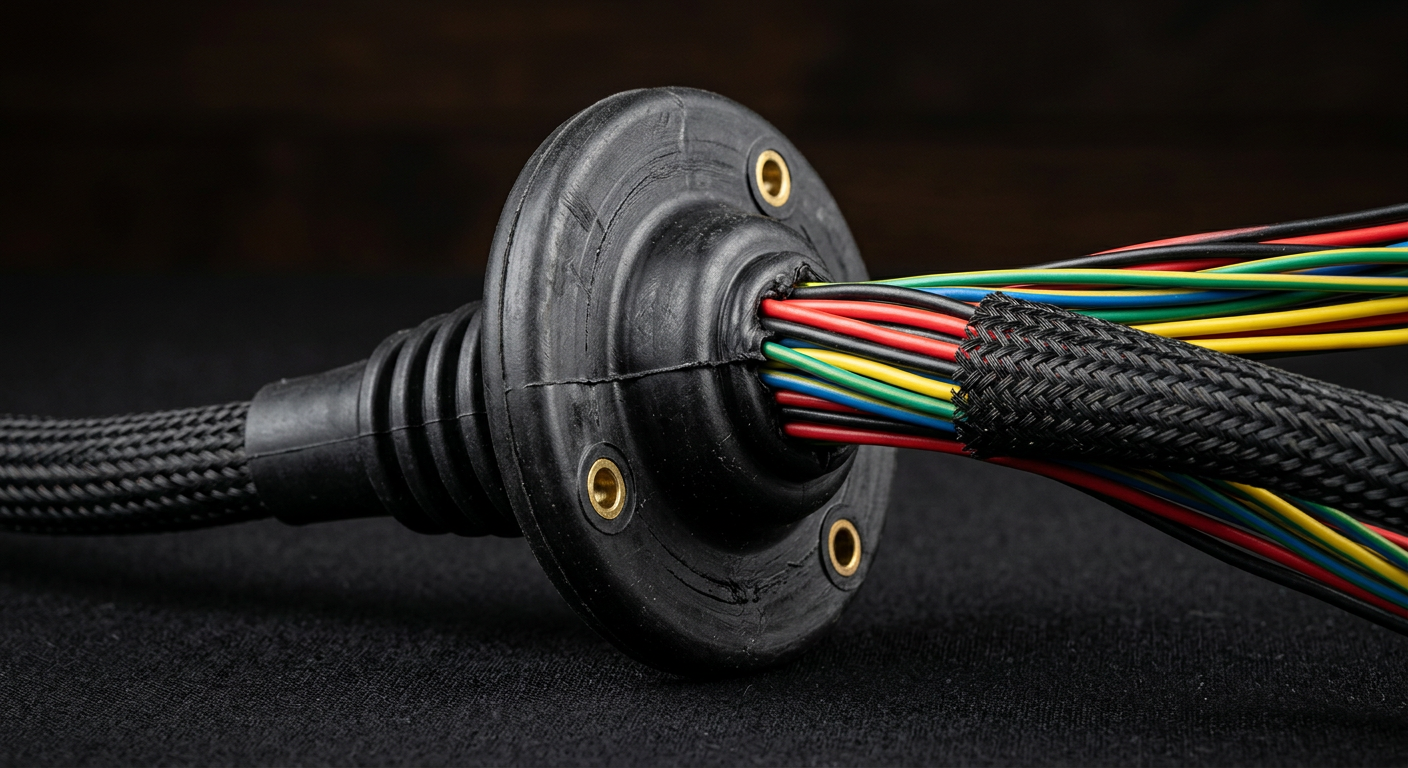
The single biggest spec mistake we see on incoming RFQs: a generic “NBR 70 Shore A” call-out for grommets that will live on the firewall or under the hood. NBR is great for oil resistance — and terrible for ozone and UV. Put it on a firewall and you’ll see surface cracking within a few years.
We cover the trade-offs of these compounds in more depth on our engineering resource page.
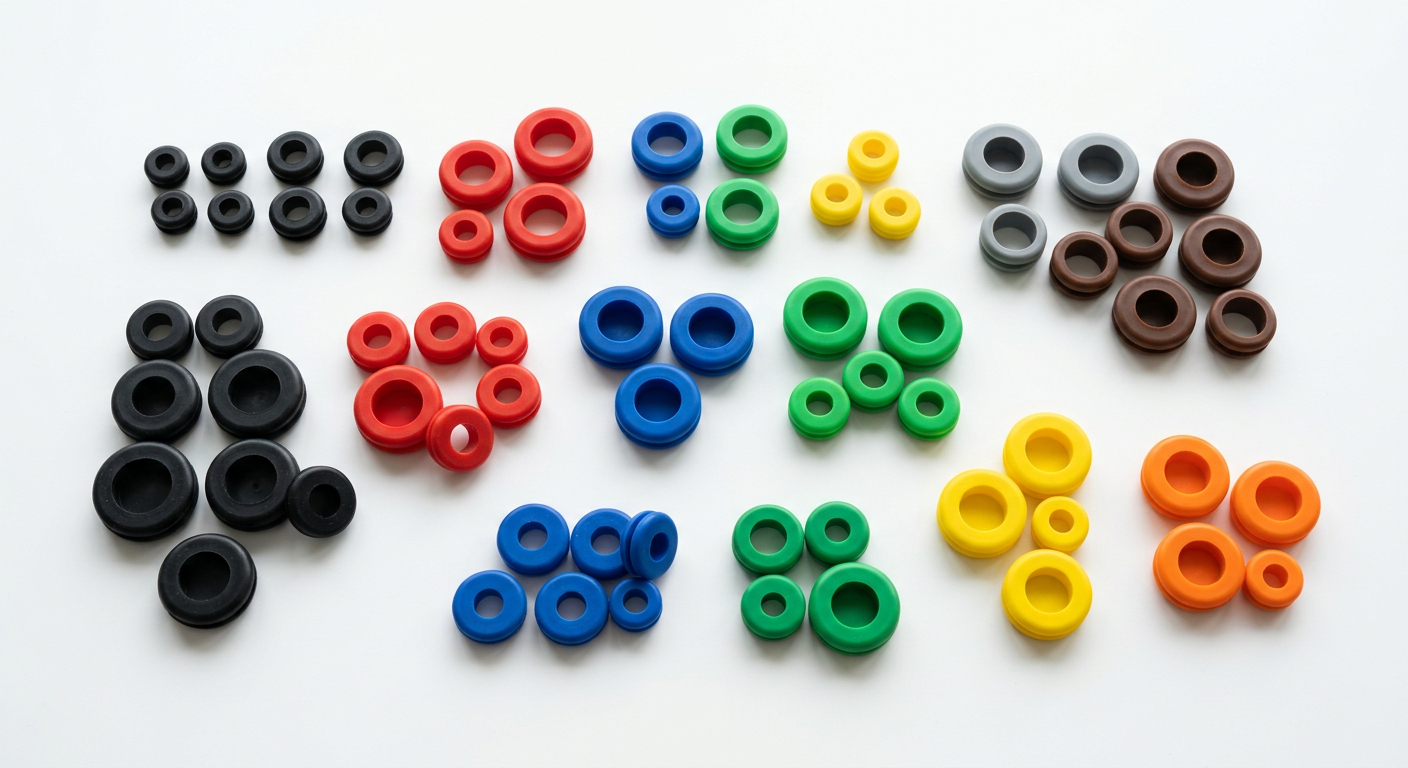
Grommet retention is governed by interference fit between the rubber groove and the sheet metal hole. Too little interference and the grommet walks out under vibration. Too much and assembly operators can’t seat it without tools — which leads to half-installed grommets that fail QC audits months later.
Our recommended starting values for stamped steel panels:
Add a tapered lead-in chamfer of 15–20° on the panel-facing side of the grommet. It cuts assembly force by 30–40% without compromising retention.
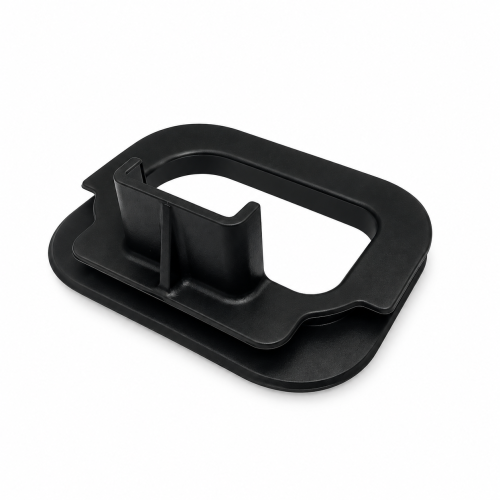
For oval, D-shaped, or multi-cavity grommets (common for ribbon harnesses), the same principles apply — but you’ll need to specify orientation features so the grommet can’t be installed upside down on the line.
Designers often default to soft rubber (40–50 Shore A) thinking it seals better. For wire harness grommets, that’s usually wrong.
Soft rubber compresses under harness weight and panel clamping force. Over time it takes a compression set, the sealing lip relaxes, and water finds its way in. For most automotive pass-through grommets, 60–70 Shore A is the sweet spot — firm enough to maintain seal pressure after thousands of thermal cycles, soft enough to install without special tools.
Reserve 40–50 Shore A for low-stress applications like interior trim wire pass-throughs where vibration is mild and there’s no fluid exposure.
Tolerance should be ±5 Shore A. Tighter than that and you’re paying for compound control you don’t need. Looser and batch-to-batch sealing performance drifts.
The sealing geometry should be chosen based on the dominant threat in that location — not based on what looks robust on the drawing.
Cheapest and simplest. Adequate for interior trim, console pass-throughs, and any location with minimal water exposure.
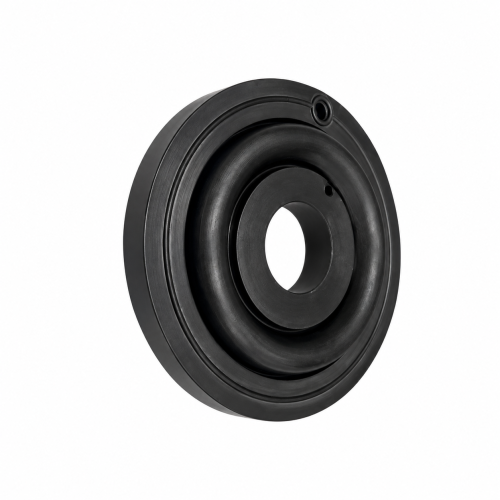
Two concentric sealing lips create a redundant barrier and trap a small air gap that dampens vibration. Use these on doors, trunk lids, and tailgate harnesses where water spray is direct and frequent.
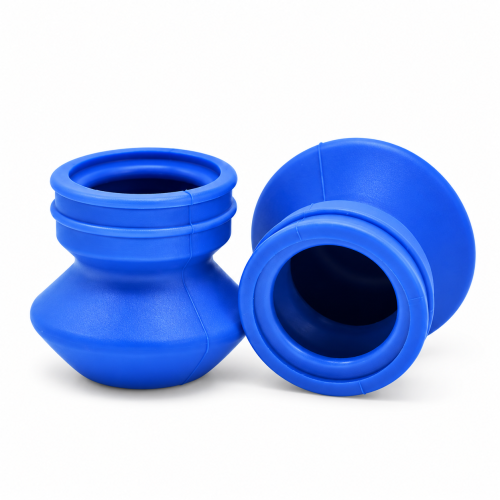
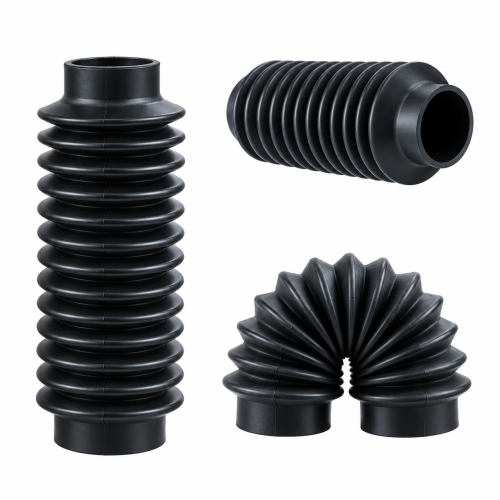
The accordion-style body allows the harness to flex through 90° or more without loading the seal. Mandatory anywhere the harness moves relative to the panel — door hinges being the classic example. A bellows grommet on a door hinge can survive 100,000+ cycles; a straight grommet often fails before 30,000.
For instance, a commercial-van OEM recently switched their sliding-door harness from a single-wall grommet to a triple-convolution bellows in EPDM 65 Shore A. Field warranty claims for door wiring dropped to near zero within two model years.
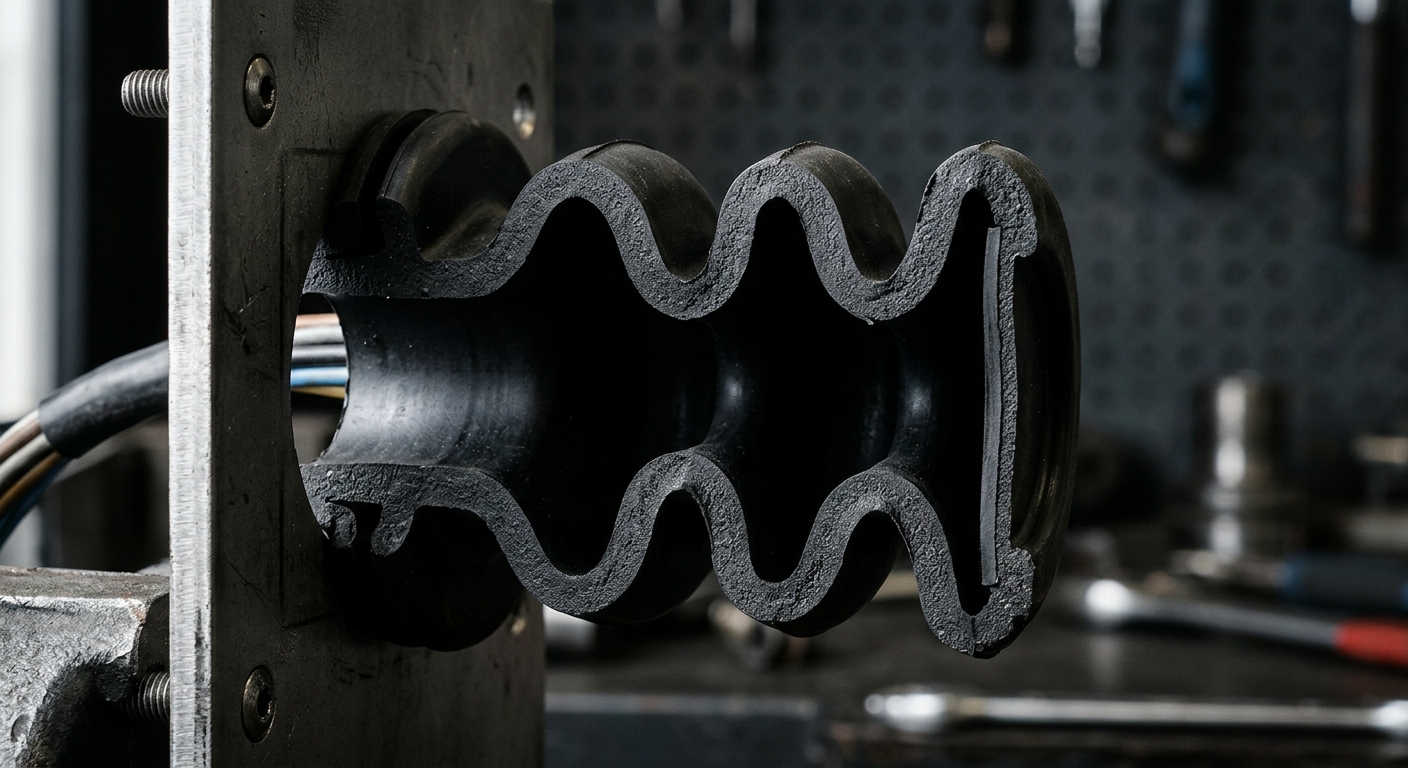
A perfectly sealed grommet-to-panel interface is useless if water travels down the inside of the bore and through the harness itself. This is one of the most overlooked failure paths.
Three options to seal the bore:
For high-volume harnesses, overmolding pays back fast despite the tooling investment. We’ve seen failure rates drop from a few hundred PPM to under 10 PPM with overmolded designs.
Automotive OEMs want grommets that still seal after 15 years. Compression set is the single best predictor.
Spec compression set per ISO 815 or ASTM D395, tested at the highest temperature the grommet will realistically see:
Also call out heat aging (ISO 188), ozone resistance (ISO 1431, 50 pphm, 40°C, 72h, no cracks), and where relevant, fluid immersion tests against ATF, coolant, diesel, or brake fluid. The cost of adding these to the spec sheet is zero. The cost of skipping them shows up in field returns.
If you’re seeing premature hardening, cracking, or seal relaxation, our breakdown of common rubber sealing failure modes covers the underlying chemistry and how to spec around it.
A clean RFQ saves weeks of back-and-forth. For a custom grommet quote, send the following:
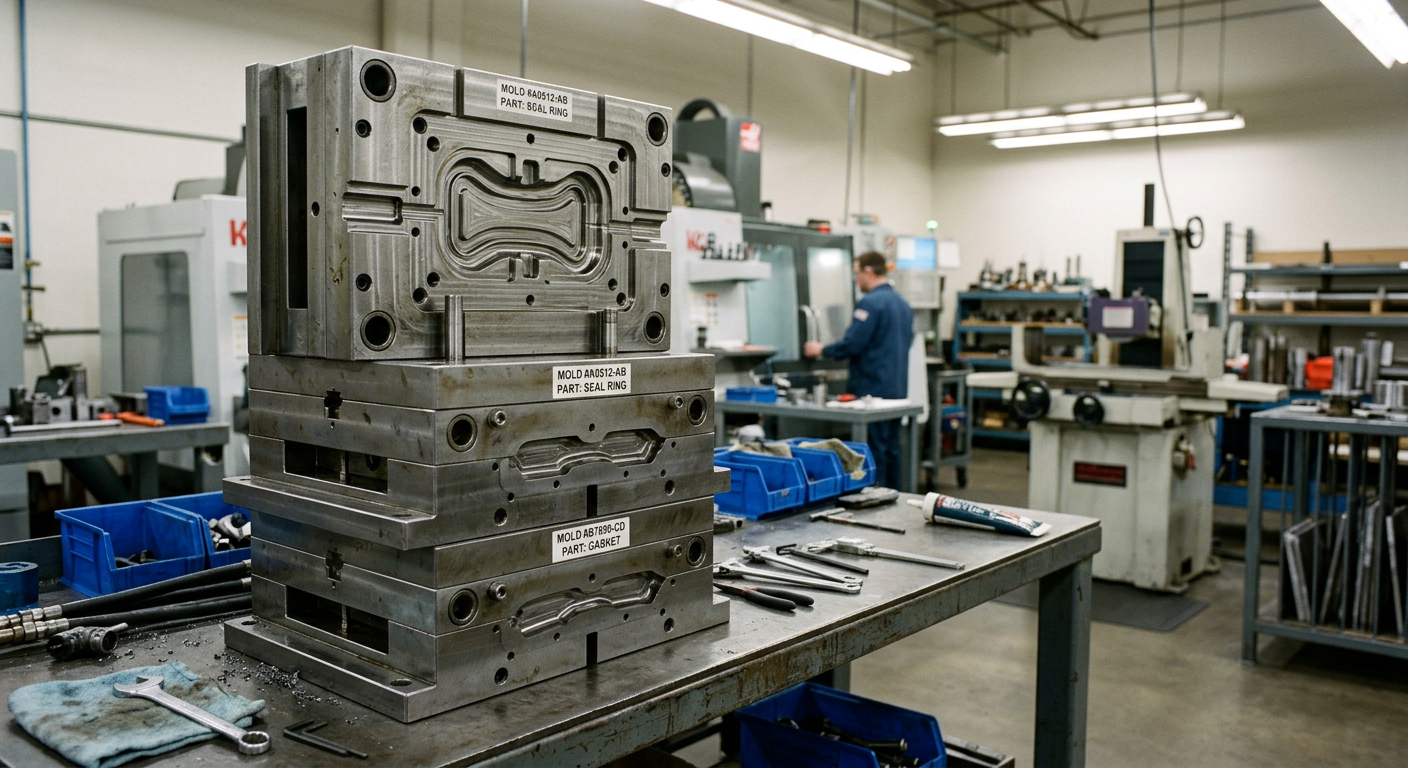
For typical automotive grommet geometries, compression molding is the most cost-effective above 50,000 pcs/year. Injection molding makes sense above 250,000 pcs/year or when tight flash control is required. LSR (liquid silicone rubber) injection is the go-to for high-volume silicone grommets in EV applications.
Tooling lead times: 4–6 weeks for compression molds, 6–10 weeks for injection or LSR molds. Build samples and PPAP submissions typically add 3–4 weeks.
Most of these are zero-cost fixes if caught at the design stage. They’re expensive — and sometimes catastrophic — if caught after tooling is cut.
Designing a great grommet on paper is half the job. The other half is getting it produced consistently at scale, with the documentation an automotive program requires. Look for a manufacturer that will engage at the DFM stage, suggest compound alternatives based on cost and performance, build prototypes before tooling, and provide full PPAP support.
At Hongjie Seal, we manufacture custom rubber grommets, O-rings, and molded components for automotive Tier-1s and OEMs worldwide, including EPDM, NBR, HNBR, silicone, FKM, and neoprene compounds. If you have a harness pass-through challenge — whether it’s a new vehicle program or a recurring field issue on an existing platform — send us your drawing or sample. We’ll review the design, suggest material and geometry refinements, and quote tooling and parts together. Browse our rubber product range or get in touch to start a custom project.



Our engineering team reviews your specs and responds within 24 hours with material recommendations and competitive pricing.